The Benefits Of Jewelry Design Software

woman in front of computerIf you have your own business working with handcrafted jewelry, you will want to start looking for ways that you can make running your business a whole lot easier. Whether you are dealing with lots of inventory, numerous customers or even trying to keep track of your materials, there is a lot that needs to be done on a regular basis. When you add in your handcrafted designs, you are not left with much time to waste, let alone looking for ways to make life easier.

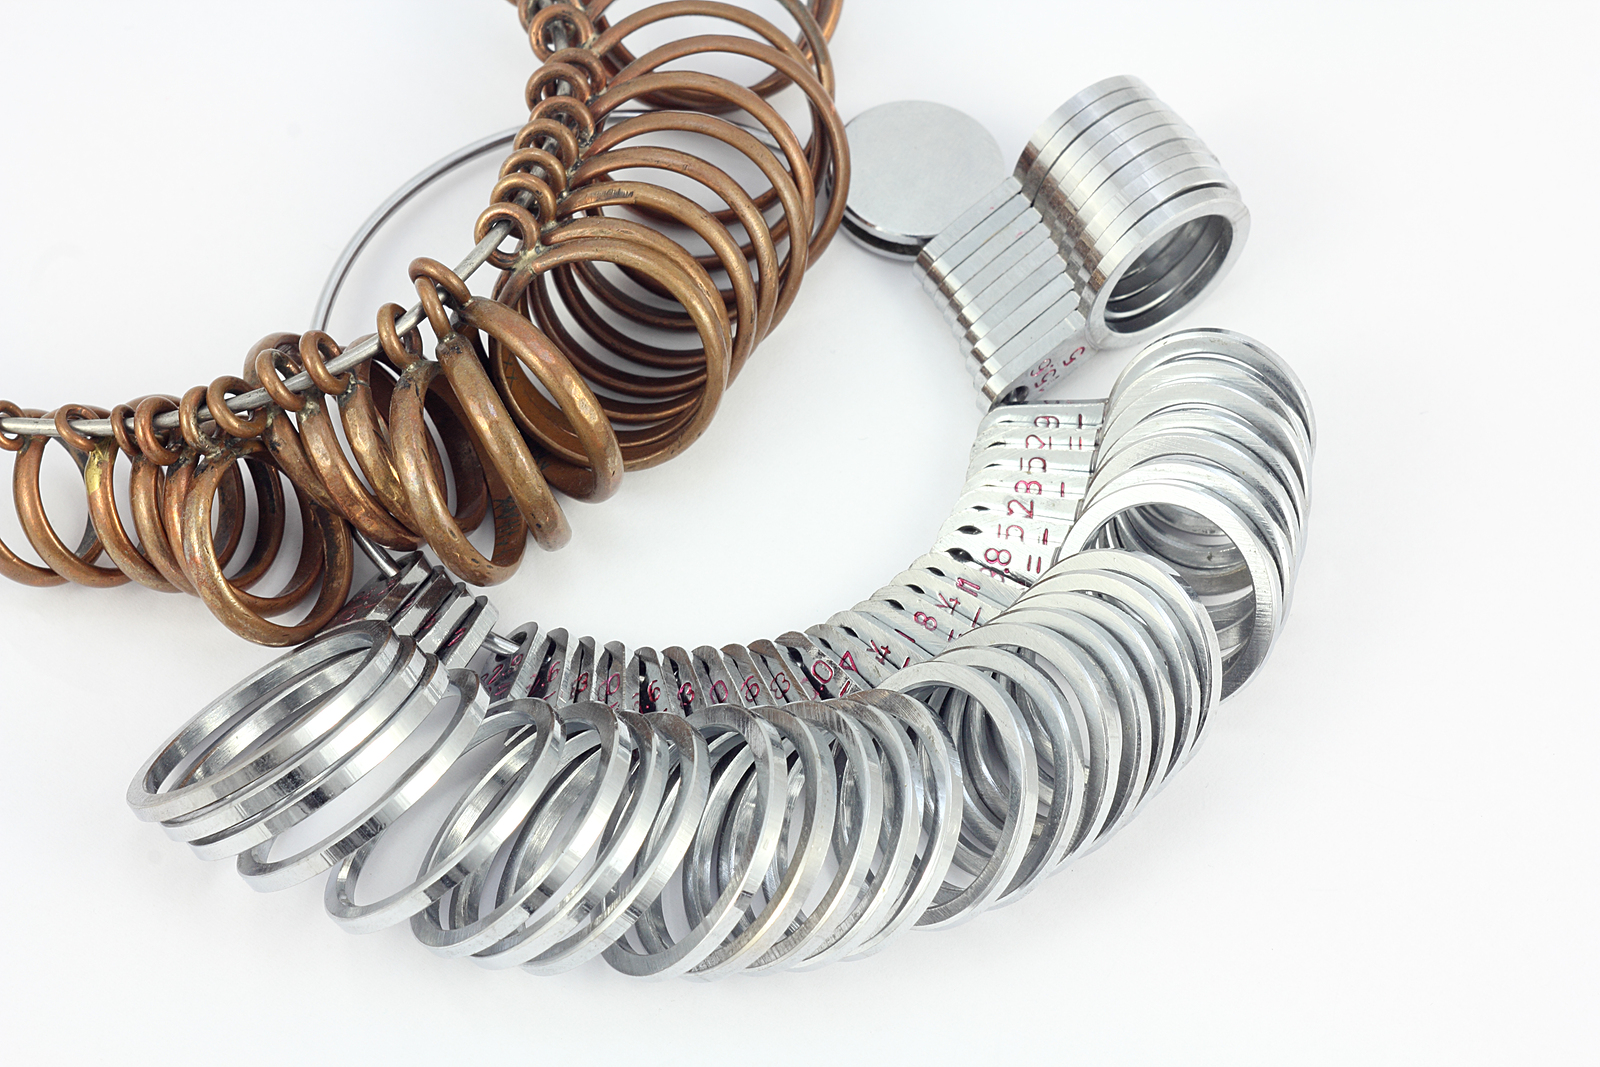
However, when you run your own jewelry making business, you are going to find that quality jewelry making software is going to be incredibly useful. Not only are you able to create all sorts of databases and spreadsheets along with invoices and more that you can use to run your business, but there are also programs out there that will include the tools that you need to design your pieces right from the comfort of your computer.

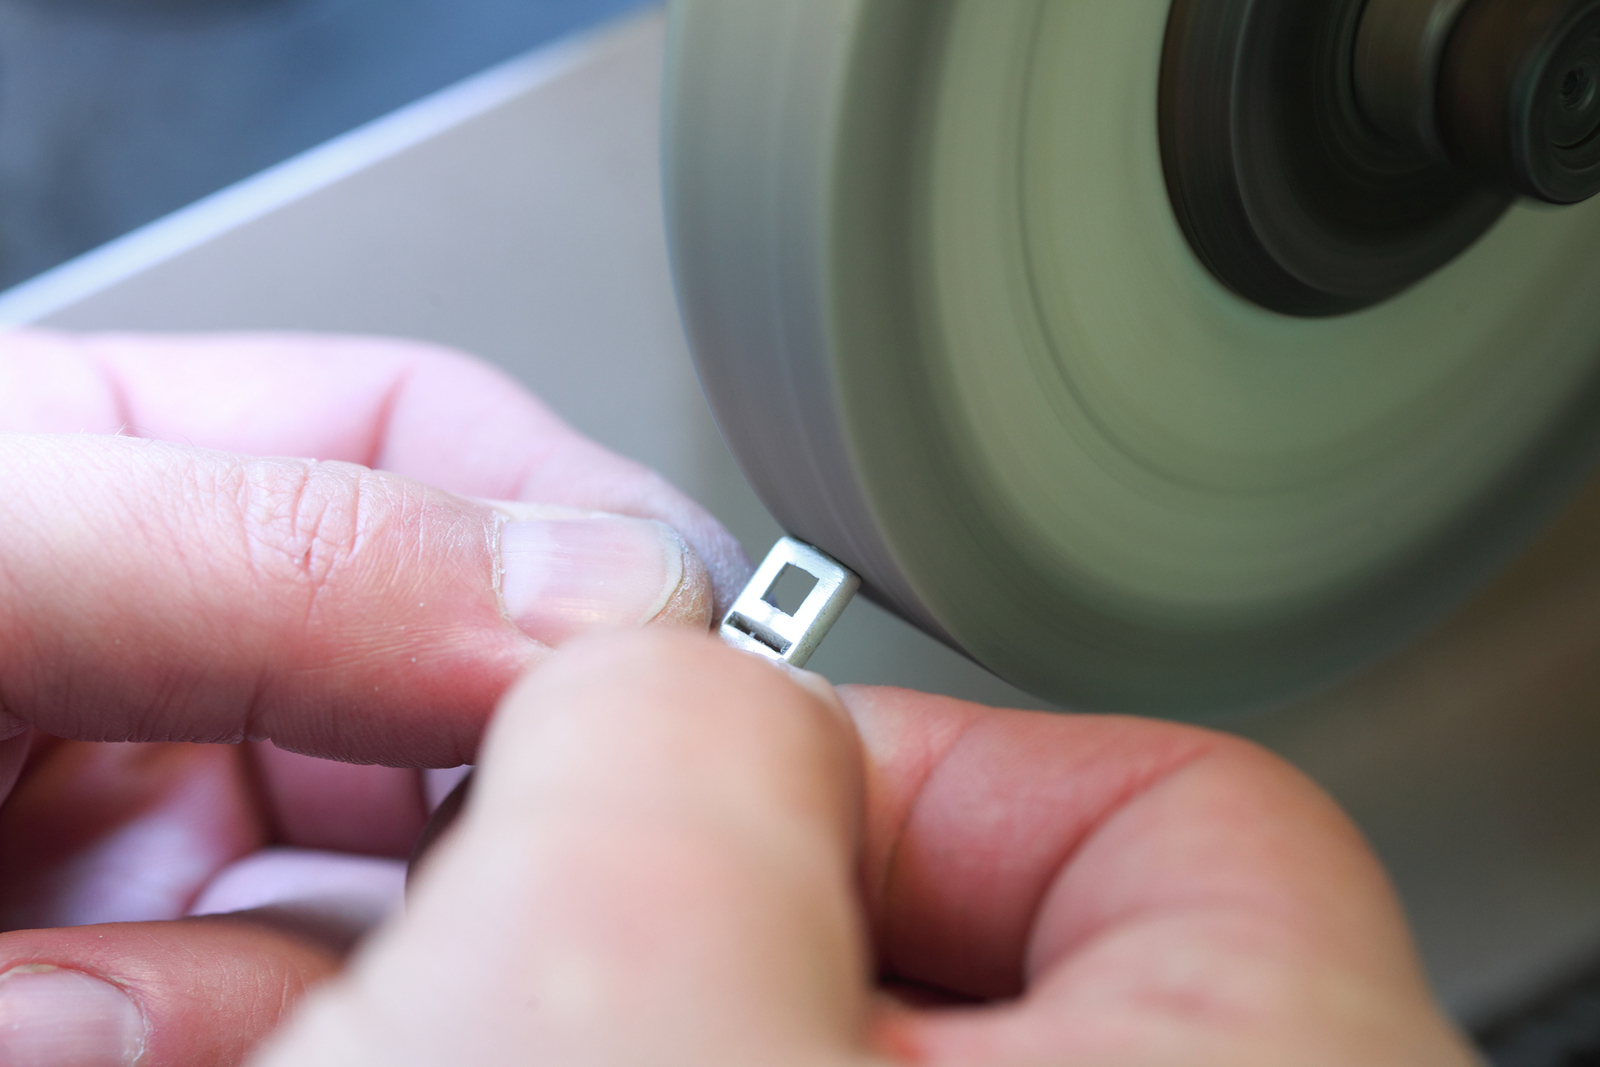
Jewelry design software often includes all sorts of jeweler friendly tools that you can use to make incredible 3D jewelry that you can view right in front of you on your computer screen. These programs will combine the power of CAD with other modeling elements that will allow you to render amazing images that you can use to help you design some of the best pieces imaginable. You then have the option of using your files that you create to make your own jewelry in-house or you can have the files shipped off for casting or modeling at another facility.

When you are using the right software to design jewelry, you will also have the option of visualizing your design on the screen and then using it as a reference while you fabricate it yourself by hand using your beading, precious metals or even carving out of clay pieces. Once you have such software within your reach, the possibilities of jewelry design are going to be virtually endless.

Looking at your jewelry business, you will find that having good quality jewelry design software on hand will also allow you to hone in on your market by creating pieces that are fully customized for your customers. Additionally, you can even work on expressing your own creativity by putting together a line of virtual jewelry that you can bring in customers with so that they will be prompted to order their own pieces.

All in all, the best jewelry making software that is available today will allow you to make your business better in every way possible. From creating invoices for your customers and keeping track of your inventory, to helping you build your website or even design new and exciting pieces, the possibilities are truly endless.

Not only will you be able to dazzle all of your current customers but you will also be able attract new business once they see all of the custom, personalized offerings that you are able to create with the best software on the market for jewelry making.

How to Make Rings from a Silver Coin

Hand Holding Old Silver DollarJewelry making is a very popular pastime but many people may be skilled in the art of making earrings and necklaces, not so many people know how to make rings. It is possible to make a beautiful silver ring using nothing more than a silver coin, some basic tools and a rather small amount of time and patience.

The first thing to do is to locate a silver coin. The problem here is that many “silver coins” are not made of silver at all. In the United States the coin you choose will need to date from 1964 or before. Silver looking coins from after this date may look like silver and be easier to shape but the copper and other metals used in their manufacture will oxidize on your fingers.

A half dollar coin is sufficient to make a silver ring large enough for a man and a quarter will be perfectly sufficient to make a woman’s ring. These are available for just a few dollars.

When you have your coin, you should start to tap it around the diameter which will make it smaller but the edge of the coin will be wider. Hold the coin between your finger and thumb, then tap it with a large spoon or hammer against any hard surface. Keep on tapping until the diameter of the coin is the right size for the size of ring you want to make. You will need patience – this could take a few hours to achieve.

After you have finished tapping the silver coin you should put it into a vice and drill a hole through the center of it, allowing it to get hung onto the bit of the drill. You can then use 200 grit sandpaper to remove the majority of the tooling marks, using an adjustable speed drill as the coin spins around the bit.

Take your time and progressively decrease the sandpaper you use to 400 / 500 and then even 1000 / 1200 grains. Widen the hole in the center of the ring with a hand file or Dremel tool. A Dremel sanding barrel can be used to clean up the center of the ring until it is sanded and smooth.

Now for the finishing touches. Wedge the silver ring back onto the drill bit using cloth padding inside the ring. Spin the ring around slowly while polishing it with a compound using a soft, clean rag. This should give a nice shine to the ring, leaving it perfect for wearing, enjoying and showing off.

Now you know how to make rings from a silver coin. If your chosen coin isn’t very shiny you can always polish it up before you start using vinegar or some other sort of cleaning solution. Remember not to try to rush any of the procedures – take it slowly and you will benefit from superior results. If you try to rush your coin could start to warp and even fold over in half.

How to Make Earrings: An Easy Guide

handmade colorful of various form decorative earrings jewelry sold in outdoor fair market.
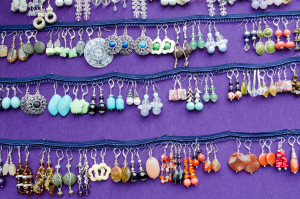
While there are all kinds of earrings available at jewelry stores, it’s hard not to cringe when you see their prices. You may have wanted to learn how to make earrings on your own. Making homemade earrings is incredibly simple when you know what you’re doing. Give these easy projects a try.

Handmade Tassel Earrings

If you’ve ever seen upholstery tassels at the store, you may have though that they would make a nice piece of jewelry. You can turn them into beautiful earrings with some rhinestone rim, earring hooks, craft glue, jump rings, and a needle and thread.

Wrap the rhinestone rim around the top of the tassels to see how long in should be. Cut the rim, and then use the glue to attach it to the top of your tassels. Use the needle in thread to secure the rim further.

Push the jump ring through the top of the tassel, and use it to connect the tassels to the earring hooks. After that, these earrings will be ready to wear.

Simple Fabric Button Earrings

If you have a few scraps of pretty fabric lying around your home, you can make some gorgeous basic earrings. In addition to the fabric, you’ll need earring backs, a button cover kit, and some glue.

Use the button cover kit to attach the fabric of your choosing to the buttons. If you use a printed fabric, try to make sure the two buttons you cover have a uniform appearance. Glue the earring backs to the buttons, and they’re ready to wear. You can make this project even simpler by buying buttons that are already covered in fabric.

Paperclip Earrings

You probably have plenty of paperclips lying around your house, but it’s likely you never knew you could turn them into a stylish pair of earrings. All you need are two paperclips, glue, some thin colored string, jump rings, and earring hooks.

Bend the paperclips until they’re both in a triangle shape. Glue the ends together so that the paperclip is no longer open.

Once the glue has dried, wrap the thin string around the paperclip. You can wrap it around evenly, or create some kind of design. Once you’re finished, secure the string and cut off any excess. Attach the jump ring to the top of the paperclip, and secure the triangles to the earring hooks.

Easy Feather Earrings

Feather earrings are very trendy right now, but you don’t have to spend a lot of money to get a pair. If you know how to make earrings, you can create them yourself. All you need are feathers, earring hooks, jump rings, glue, and a small piece of chain.

handmade jewelry for saleCut your chain into six pieces of three different sizes. Then, cut six pieces of feather. These can be whatever size you’d like. Use the glue to attach a piece of feather to each chain.

Once the glue has dried, add three pieces of chain to each jump ring. Secure the ring to the earring hooks, and your feather earrings will be ready to wear.

How To Make Necklaces The Easy Way

making a necklaceTo get started on learning how to make necklaces, you are going to have to collect a few basic supplies that you can actually find at just about any craft store or online shop. Some people look for glass, stone or even specialty beads that can be collected from a number of different shops. Along with that, you are going to need stringing materials, such as beading thread or flexible beading wire.

A good rule of thumb is to look for wire that contains at least 19 to 49 strands of stainless steel wire that is coated with nylon material. Strands that have less wire will kink too easily. Beading thread is a good option if you are going to be going with beads that are lighter in weight and you will also be able to find it in a number of colors. There are also options in silk cording that is available in a variety of thicknesses as well as colors, which is nice if you are hoping to have some of the stringing show through in the finished product.

Prior to cutting your stringing material, pre-determine the length that you want the necklace to be and then add anywhere between 4 and 8 inches so you have plenty of space to connect the clasp. Have one clasp ready, along with a pair of crimping beads and the beads that you are hoping to use for your necklace. Simply slide a small bead onto the threading material, crimp the end, then add another bead. Take one end of the clasp and place it on after the crimp bead, making a loop with the stringing material.

Take the end of your stringing material and put it through the clasp and then the bead/crimp/bead combination while using your crimping tool or pliers to crimp the bead into place. If you are using threading, you can put a dot of a bonding agent on either end to keep it in place. Then, choosing your beads, you can add your desired pattern to the necklace. Some people like to lay the beads out ahead of time to make a pattern prior to stringing.

Once you are happy with the selection of beads and you have them strung onto the necklace, you can use the other portion of the clasp and your bead/crimp/bead combination and close the necklace by crimping the second end. If all looks well, then you have an incredible necklace that you created to use for a gift or to wear as a part of your own jewelry collection.

The more comfortable you get with how to make necklaces, you are going to see that the possibilities will be endless when it comes down to everything that you can create. Not only are there endless options in materials but the combinations can make for incredible looks that will go well with any occasion. Before you know it, you are going to be an expert when it comes to making stunning necklaces.

Three Simple Designs For Homemade Jewelry

making a necklace
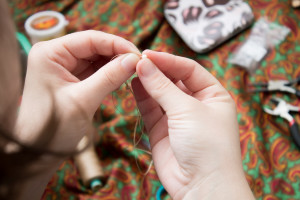
While there are many beautiful pieces of jewelry for sale at stores, nothing is as special as jewelry you’ve made yourself. If you don’t have a lot of crafting experience, you may think that making homemade jewelry is difficult. However, it’s actually an extremely simple process. Below, you’ll find three beautiful pieces of jewelry you can make on your own.

Handmade Bobby Pin Earrings

If you have a few extra bobby pins lying around, you can make a beautiful set of showpiece earrings. In addition to the bobby pins, you’ll need some craft wire, earring hooks and nail polish.

Take the bobby pins and paint them with the nail polish. You can paint them with a design, or paint each bobby pin with a different color.

Once the polish has finished drying, take two pieces of metal wire and twist them together. Slide the bobby pins over the twisted wire. Use the wire to connect the bobby pins to the earring hooks. Loop the wire around the hooks until they’re fully attached. Cut of the excess wire and your earrings are ready to wear.

Easy Washer Necklace

While most people buy jewelry-making materials at a craft store, you can make this necklace from materials you’ve obtained at the hardware store. All you need are ten 10 mm washers, 12-10 mm jump rings, pliers and a necklace chain. You can also add some color to your necklace with nail polish.

Form a design with the washers. Start with a single washer, then place two washers above it. Place three washers above that row and add two more washers going upwards on both sides. When you’re happy with the design connect everything together using the jump rings.

Use two more jump rings to connect the completed washer pattern to the chain. You’ll want to connect the washers on both sides, linking the necklace from the top-most washers. After that, your necklace will be ready to wear. No one will believe you made such a stylish piece from materials you picked up at the hardware store.

Copper and steel rings to measure the size of a finger.Easy Rope Bracelet

A simple rope bracelet is the perfect piece of jewelry to wear during the summer. They’re also one of the easiest pieces of jewelry to make. All you need is a thick piece of rope, a thin piece of rope, crimping beads, and a charm.

Wrap the thick piece of rope around your wrist to decide how long your bracelet should be. You should cut the rope about two inches longer than you want the finished product to be. Cut two pieces of rope.

Loop the two pieces of rope together and secure them with the crimping beads. While attaching one of the crimping beads, loop the thin piece of rope underneath it so that you’re left with a small circle.

Attach the charm of your choosing to the other side. To secure your bracelet, simply wrap the thin loop of rope around the charm. That’s all it takes to make this stylish and charming-looking bracelet.

As you can see, it’s easy to make homemade jewelry. Give these three simple projects a try and you’ll be amazed by the results.